How do I use campaign templates in the Impact Dashboard?
Impact strives to help institutions maximize the value of their learning technology through just-in-time contextual communication. Our content team, consisting of educational technology experts, publishes helpful templated messages and articles around common themes. This pre-made content is delivered in the form of Campaign Templates.
Campaign Templates contain messages, articles, and activity monitors, which can be added to your dashboard with one click. You can use these campaign templates as a draft, customize them to fit your institution's needs, and then go live with them on your LMS. This article will show you how to use campaign templates from your Impact dashboard.
Canvas and Blackboard release help items also have recurring campaign templates. You can find information about how to use those campaign templates in the following articles:
How do I use campaign templates in the Impact Dashboard?
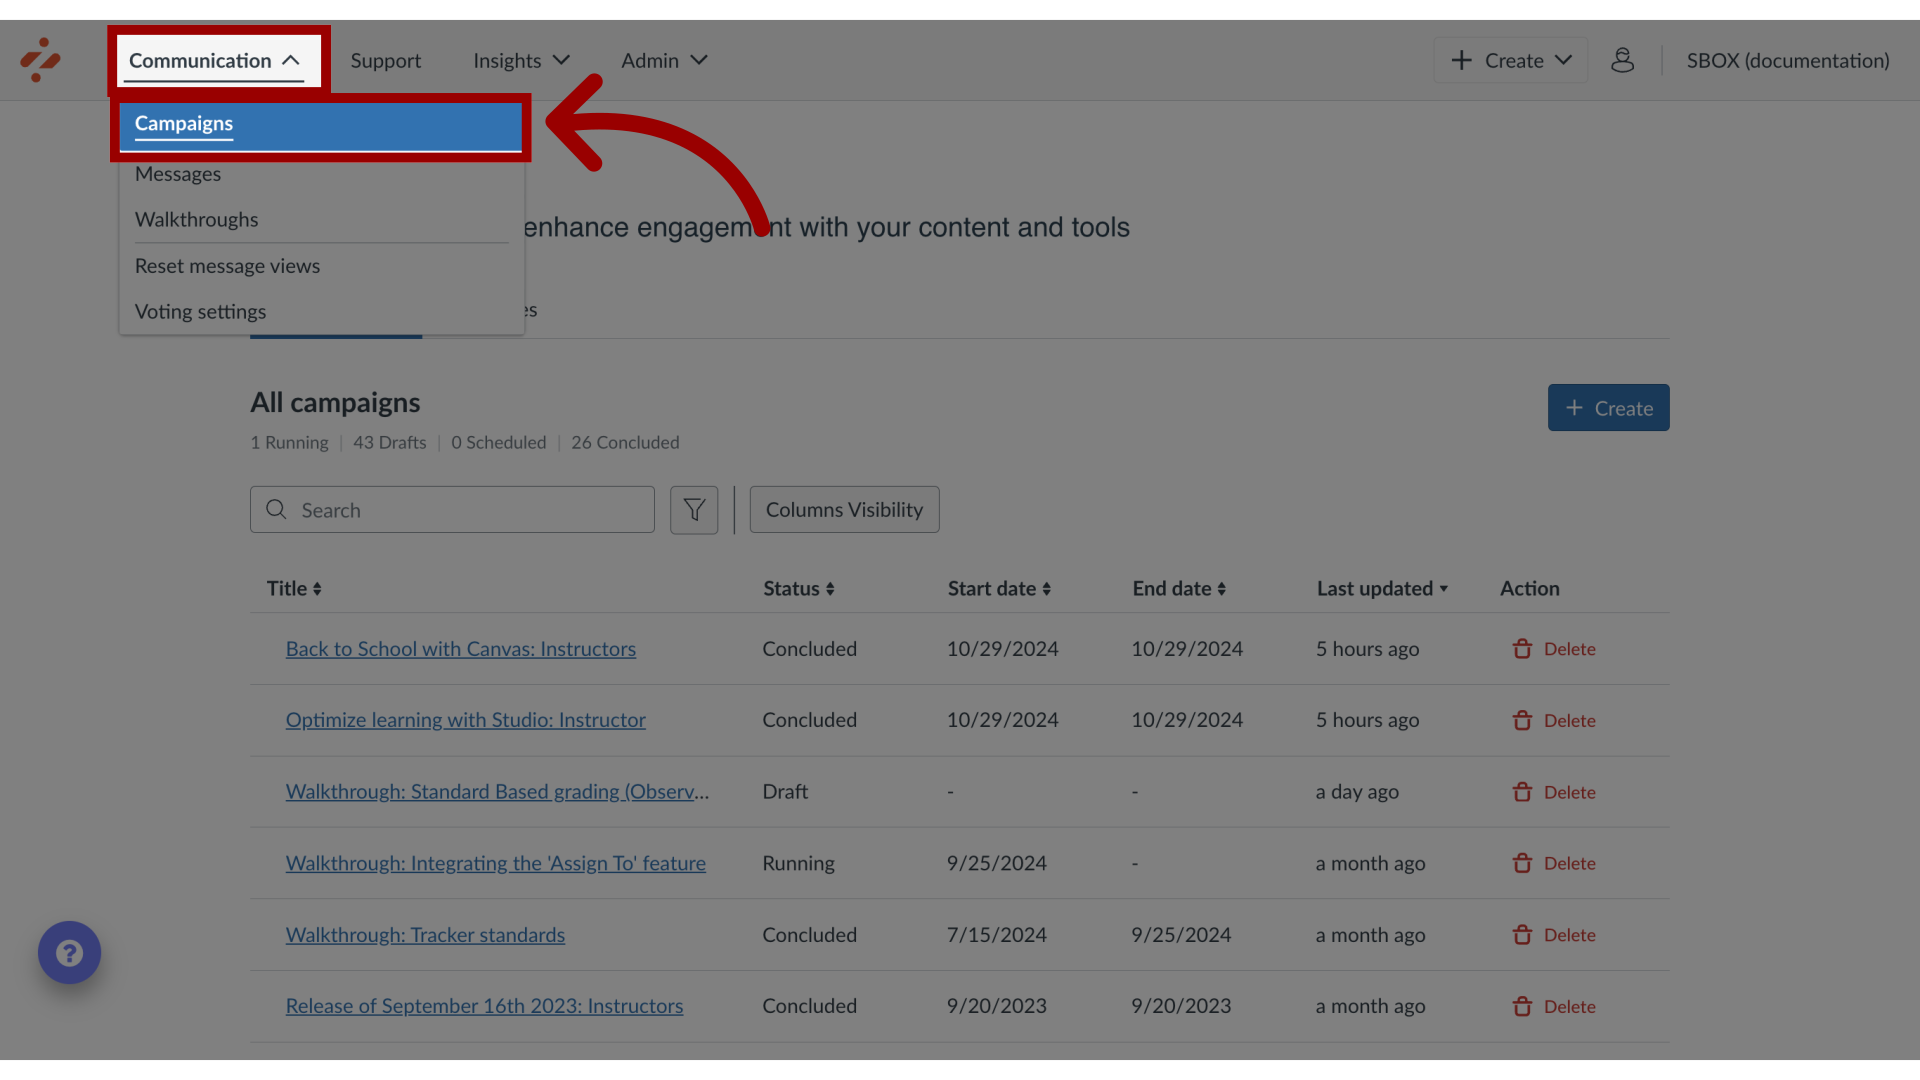
1. View Campaigns
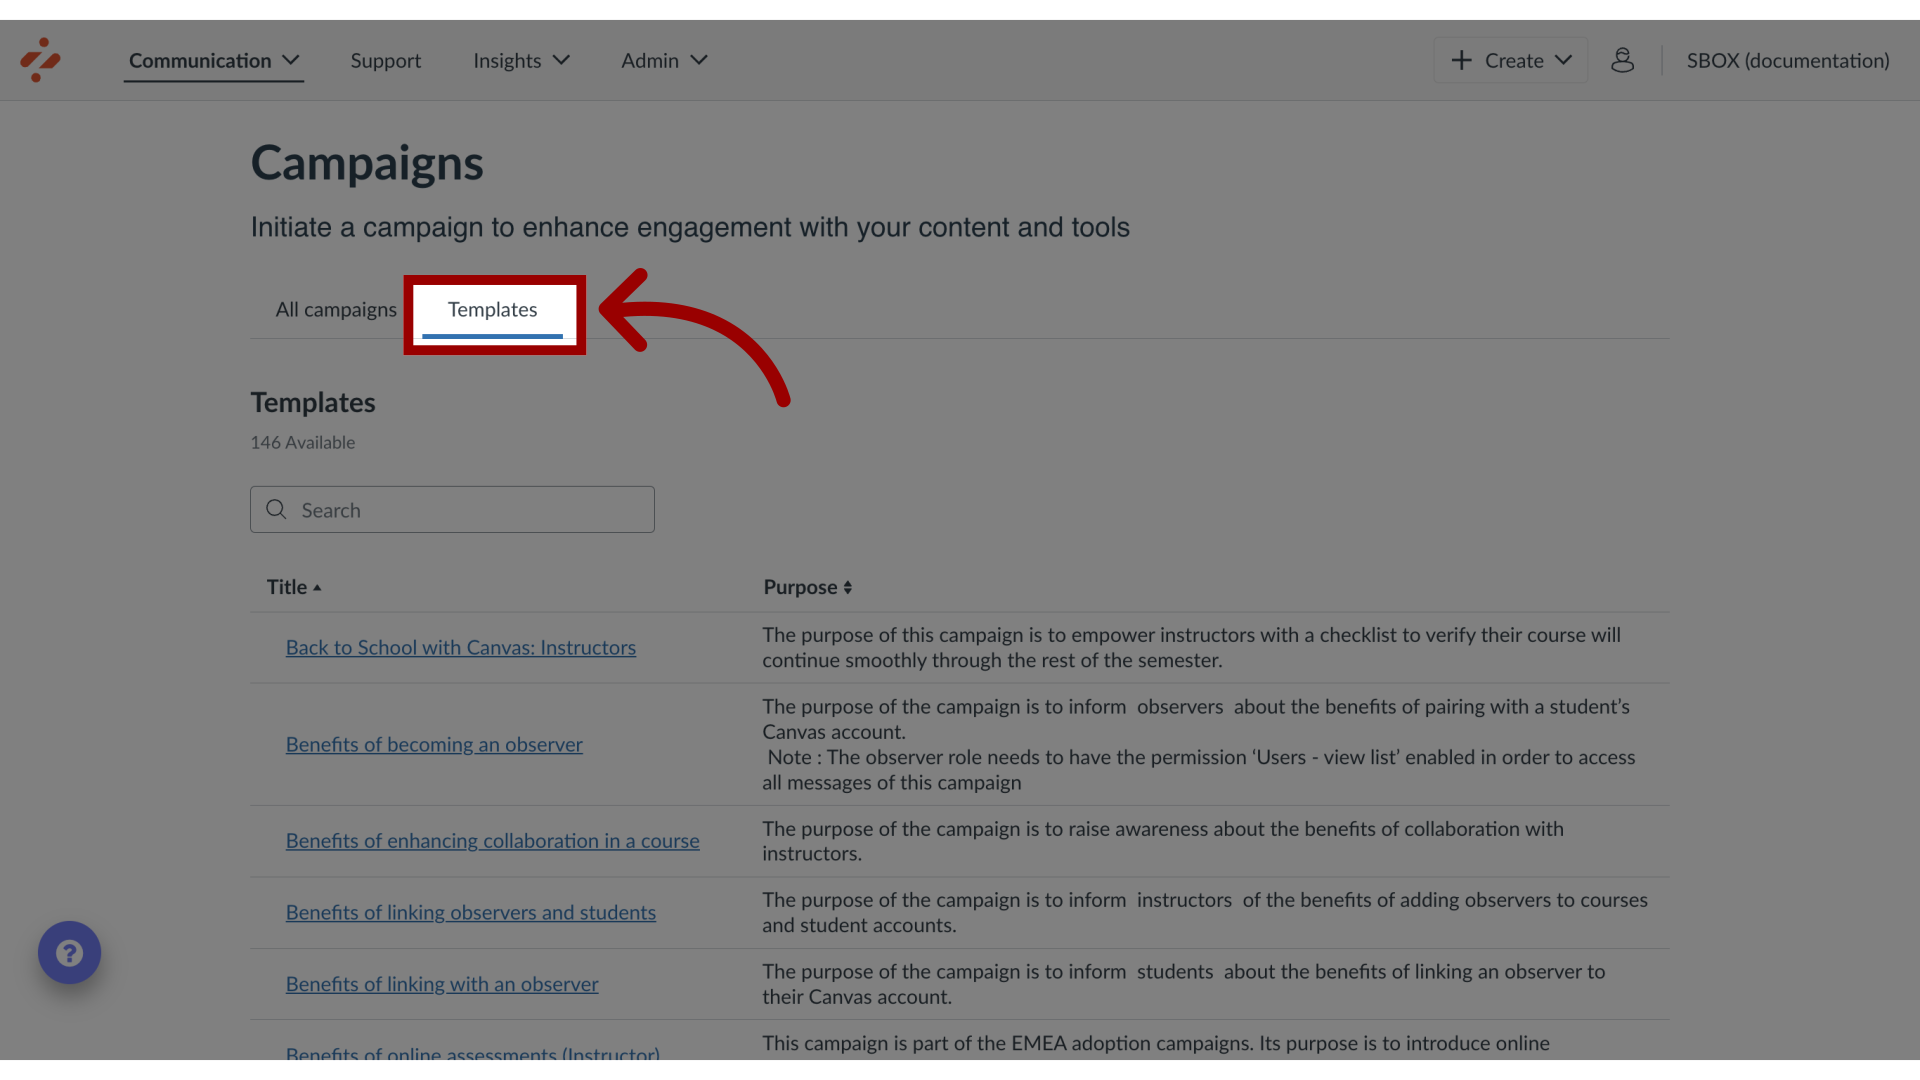
2. View Templates
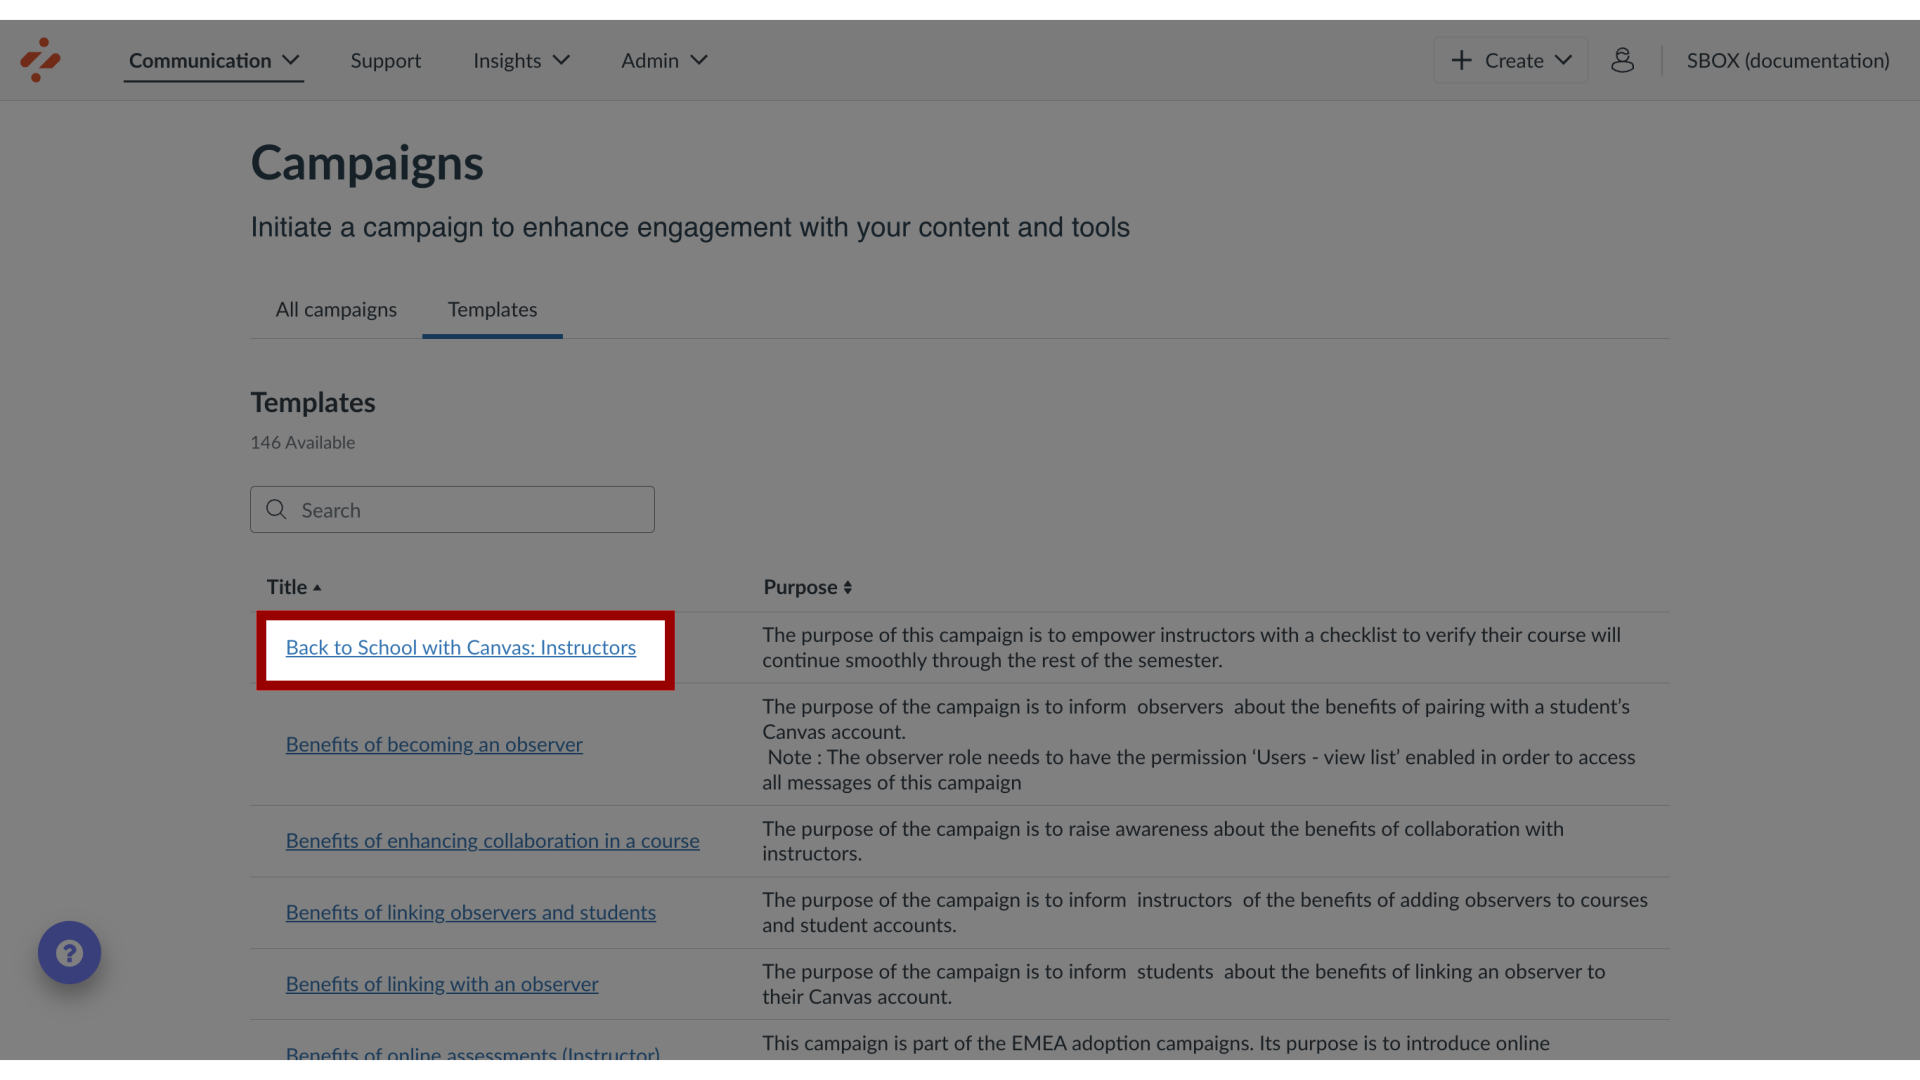
3. Open Templates
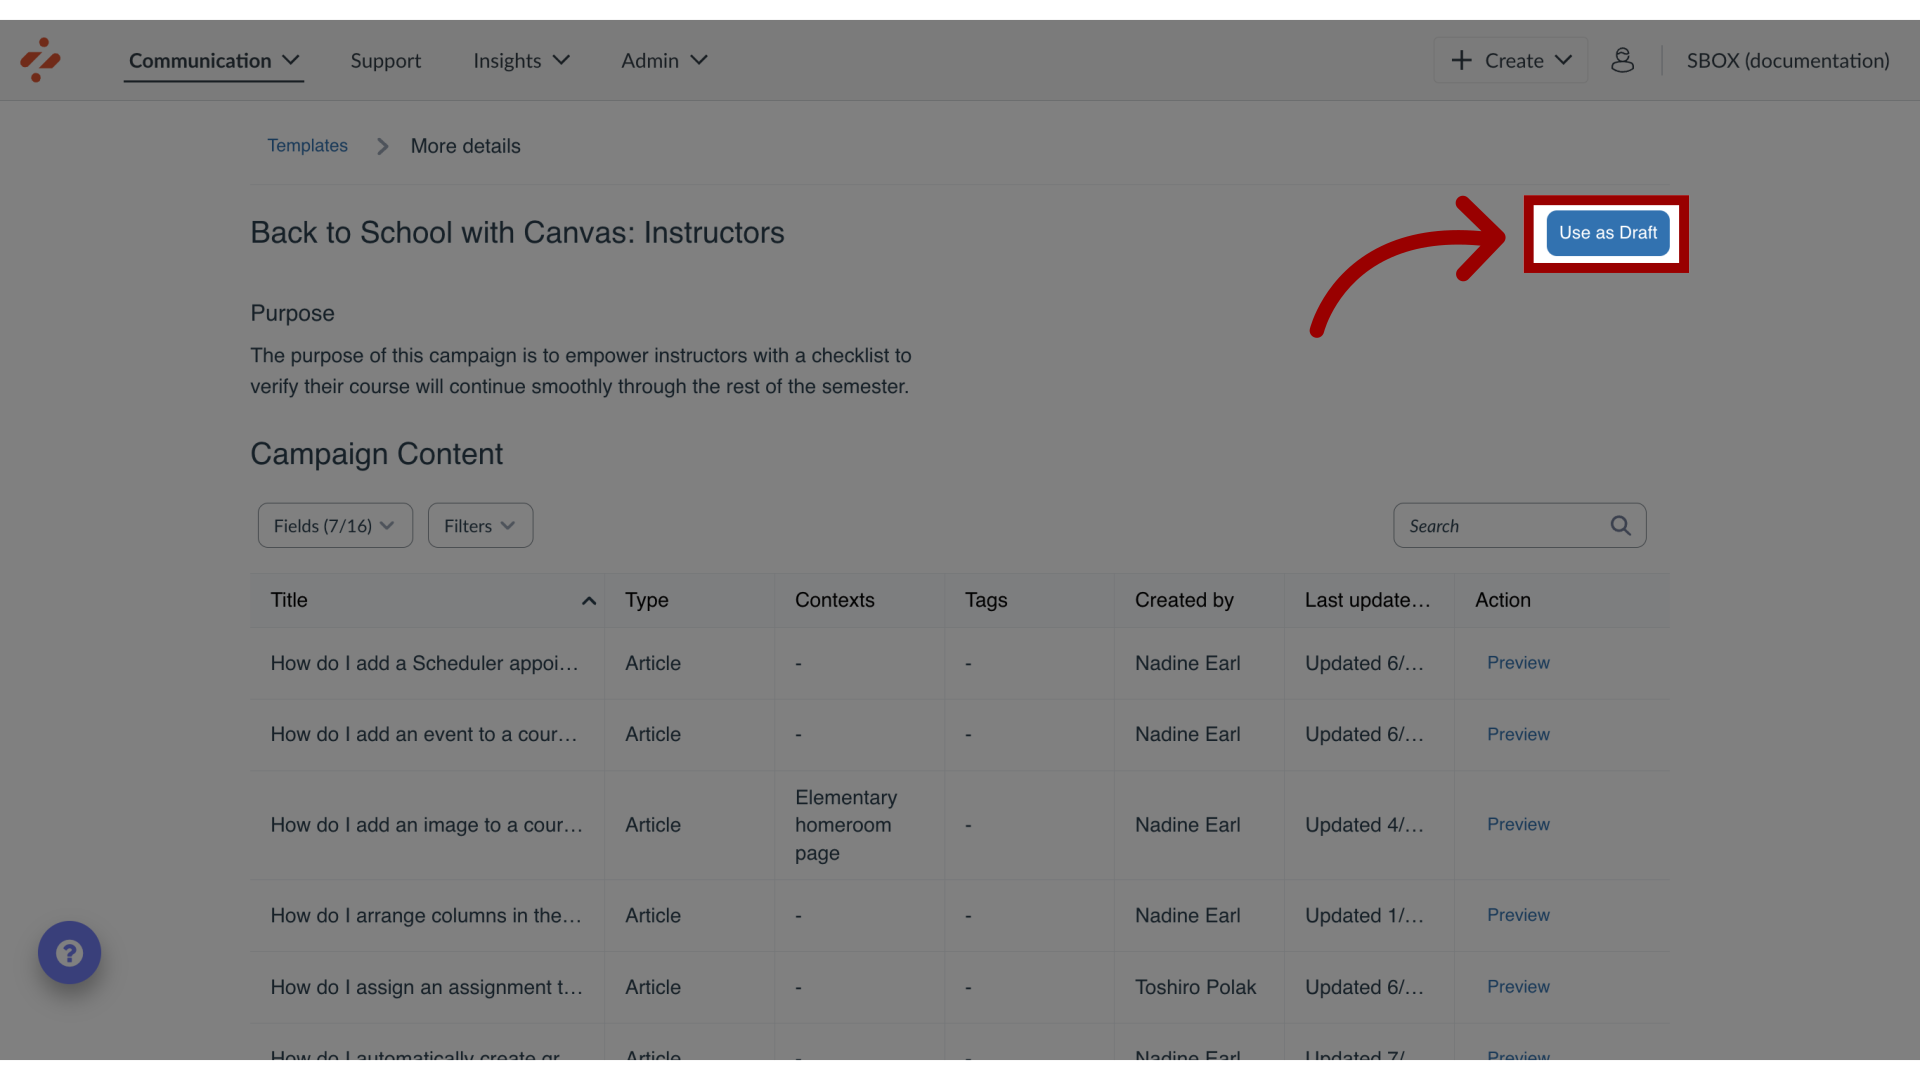
4. Use as Draft
5. Review Campaign Content
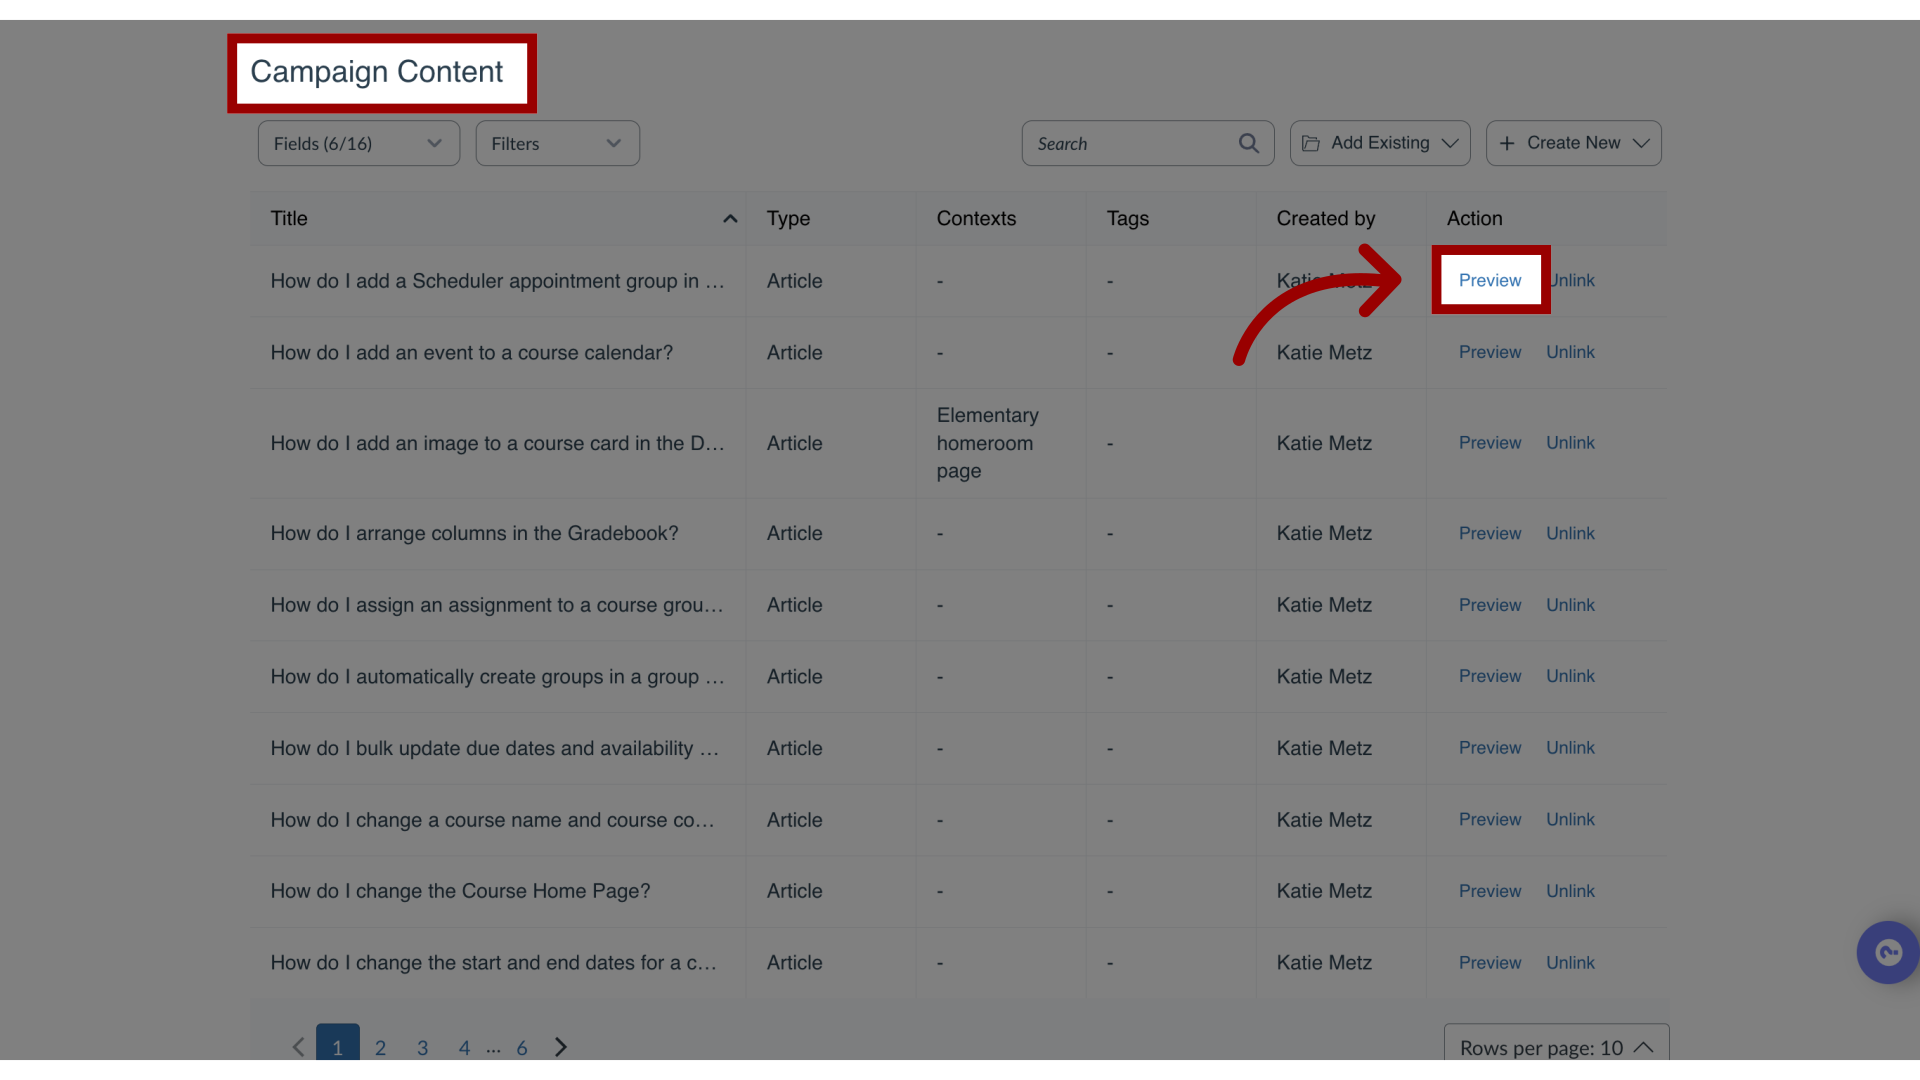
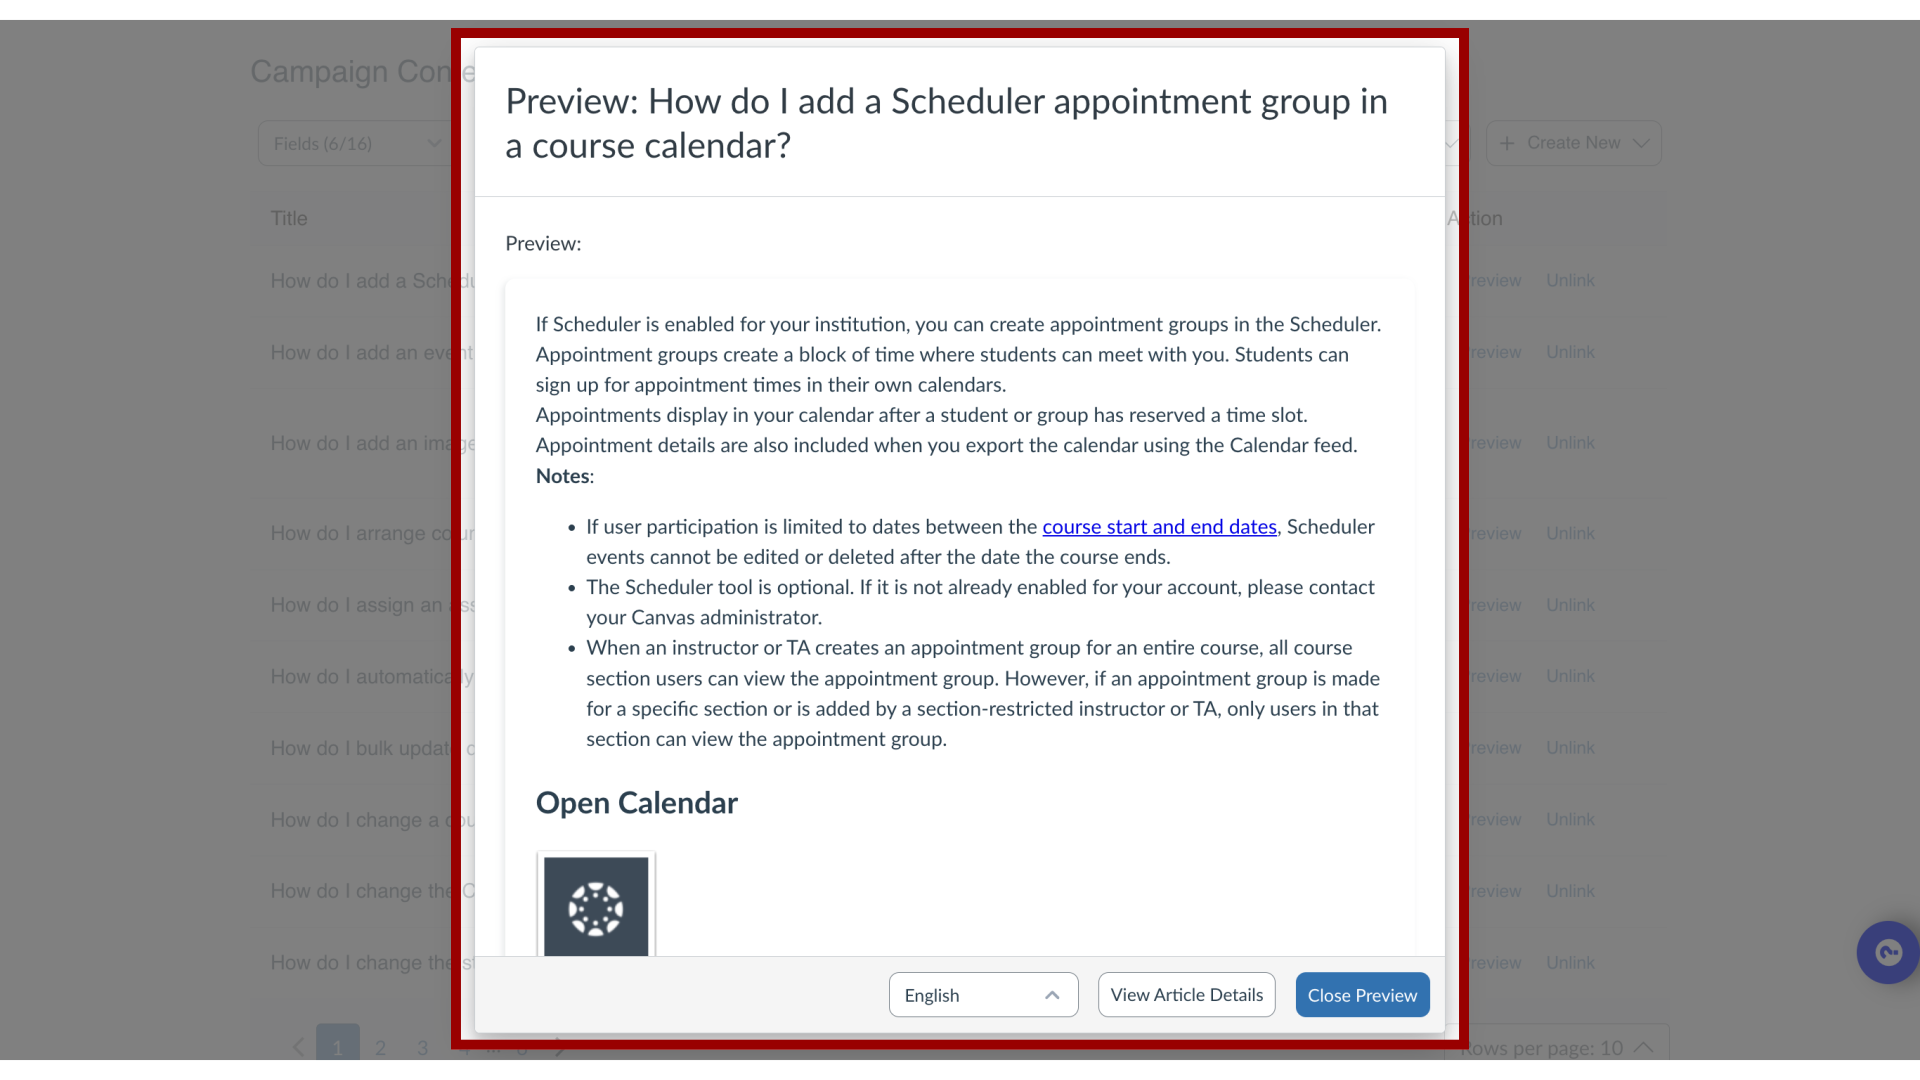
6. View Preview
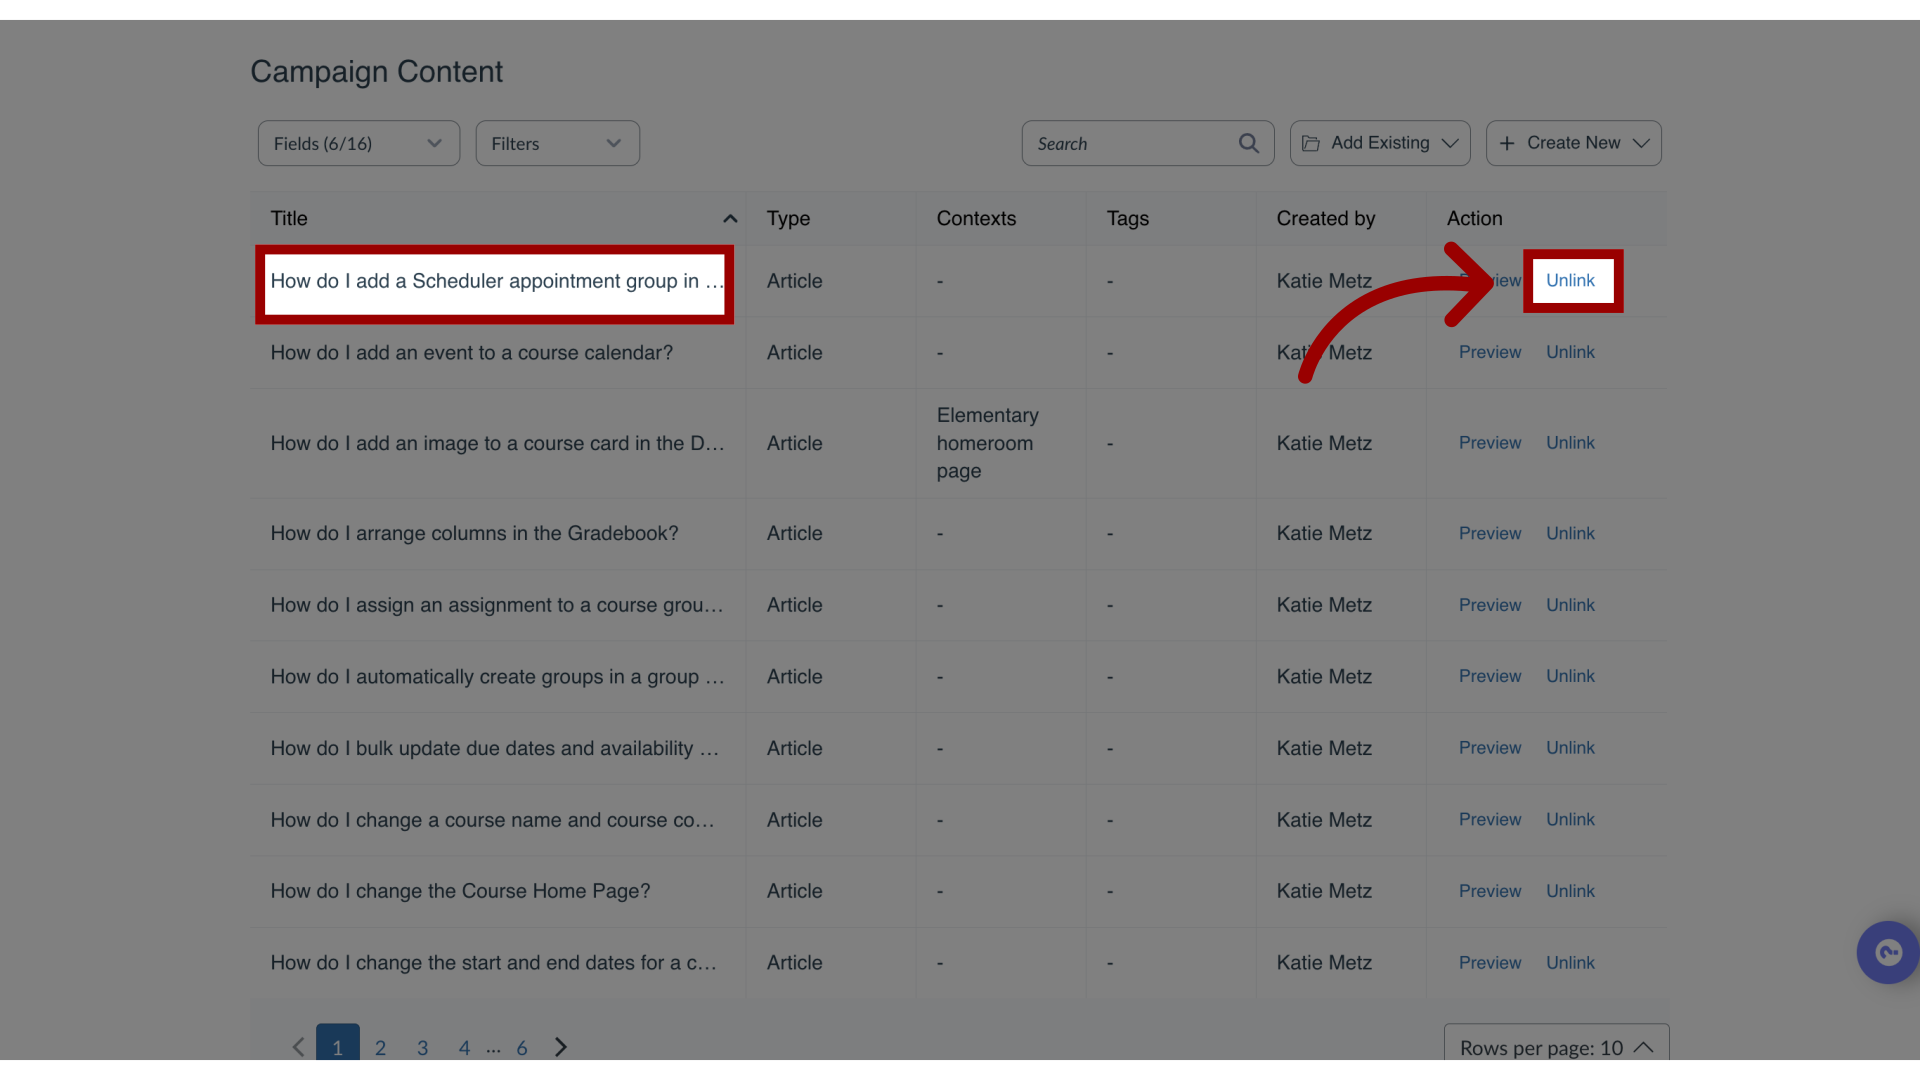
7. Remove Content from the Campaign
8. Activate Campaign
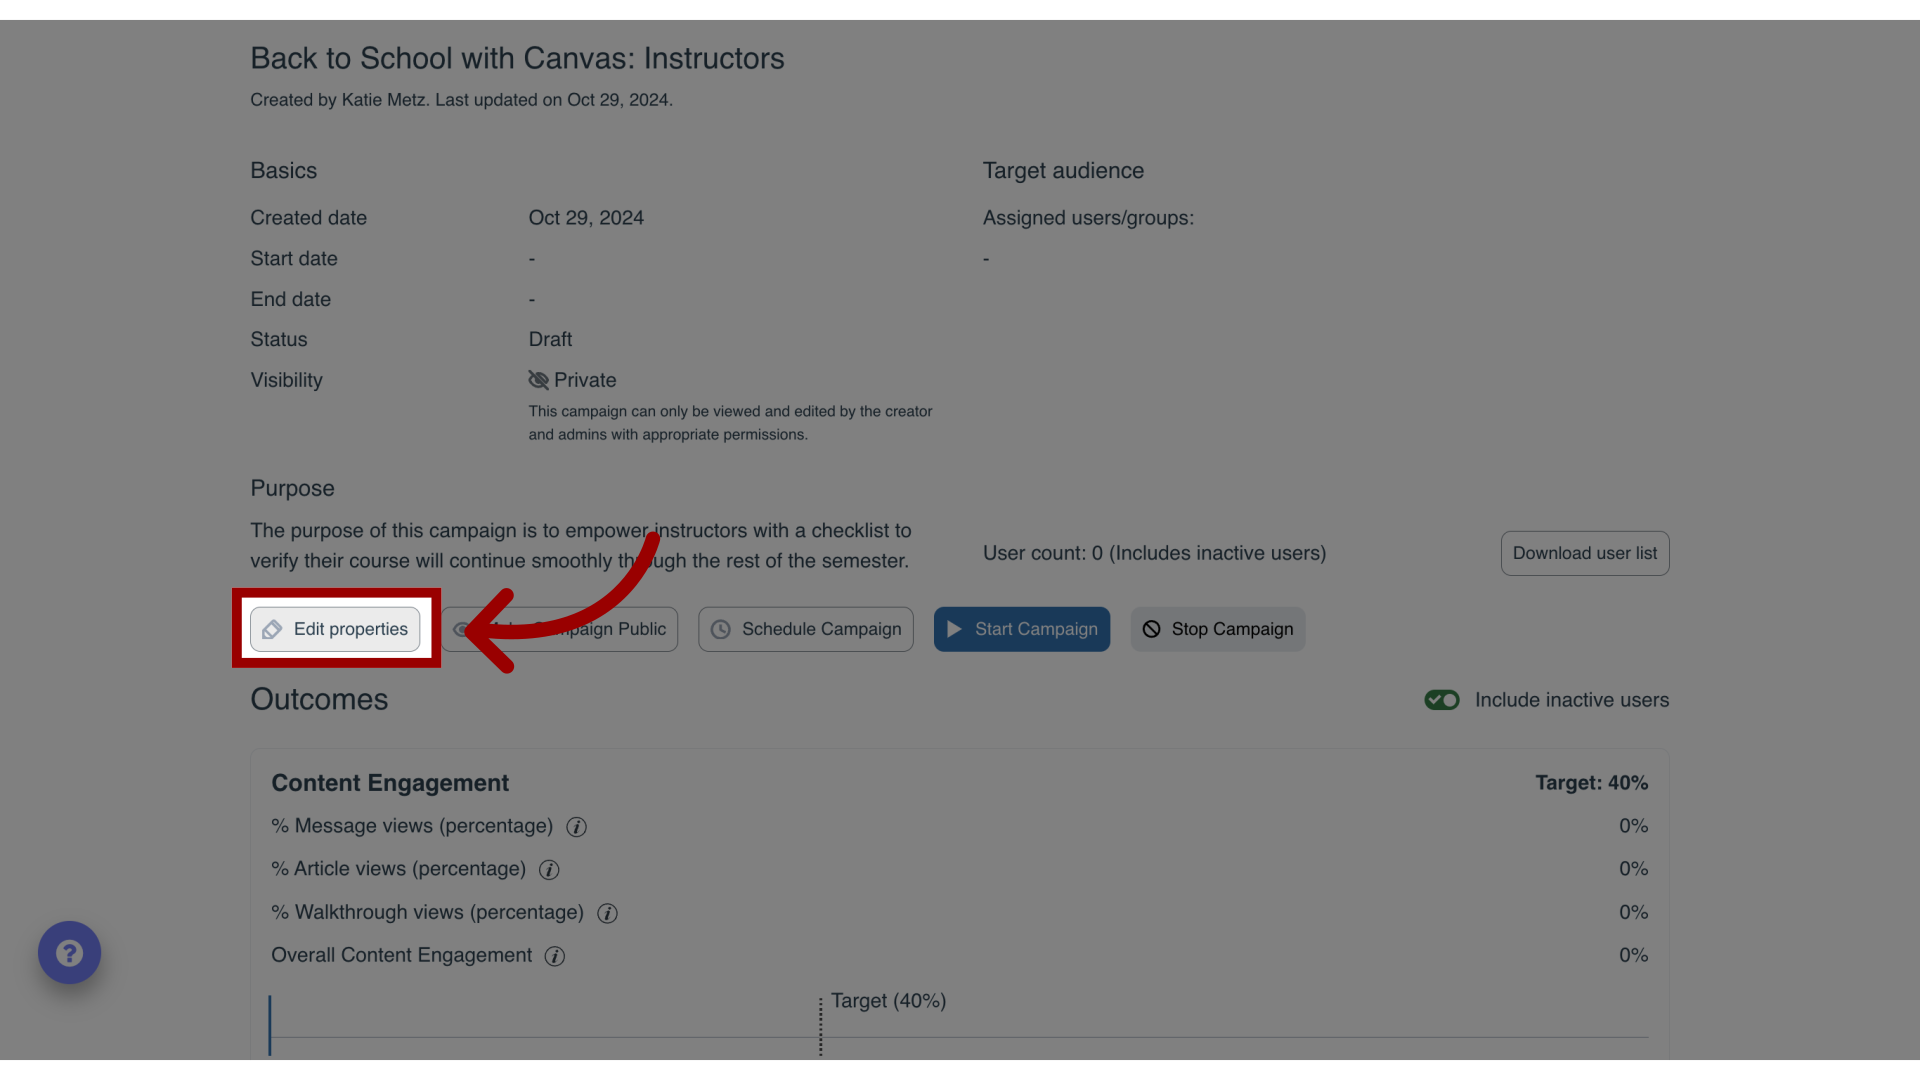
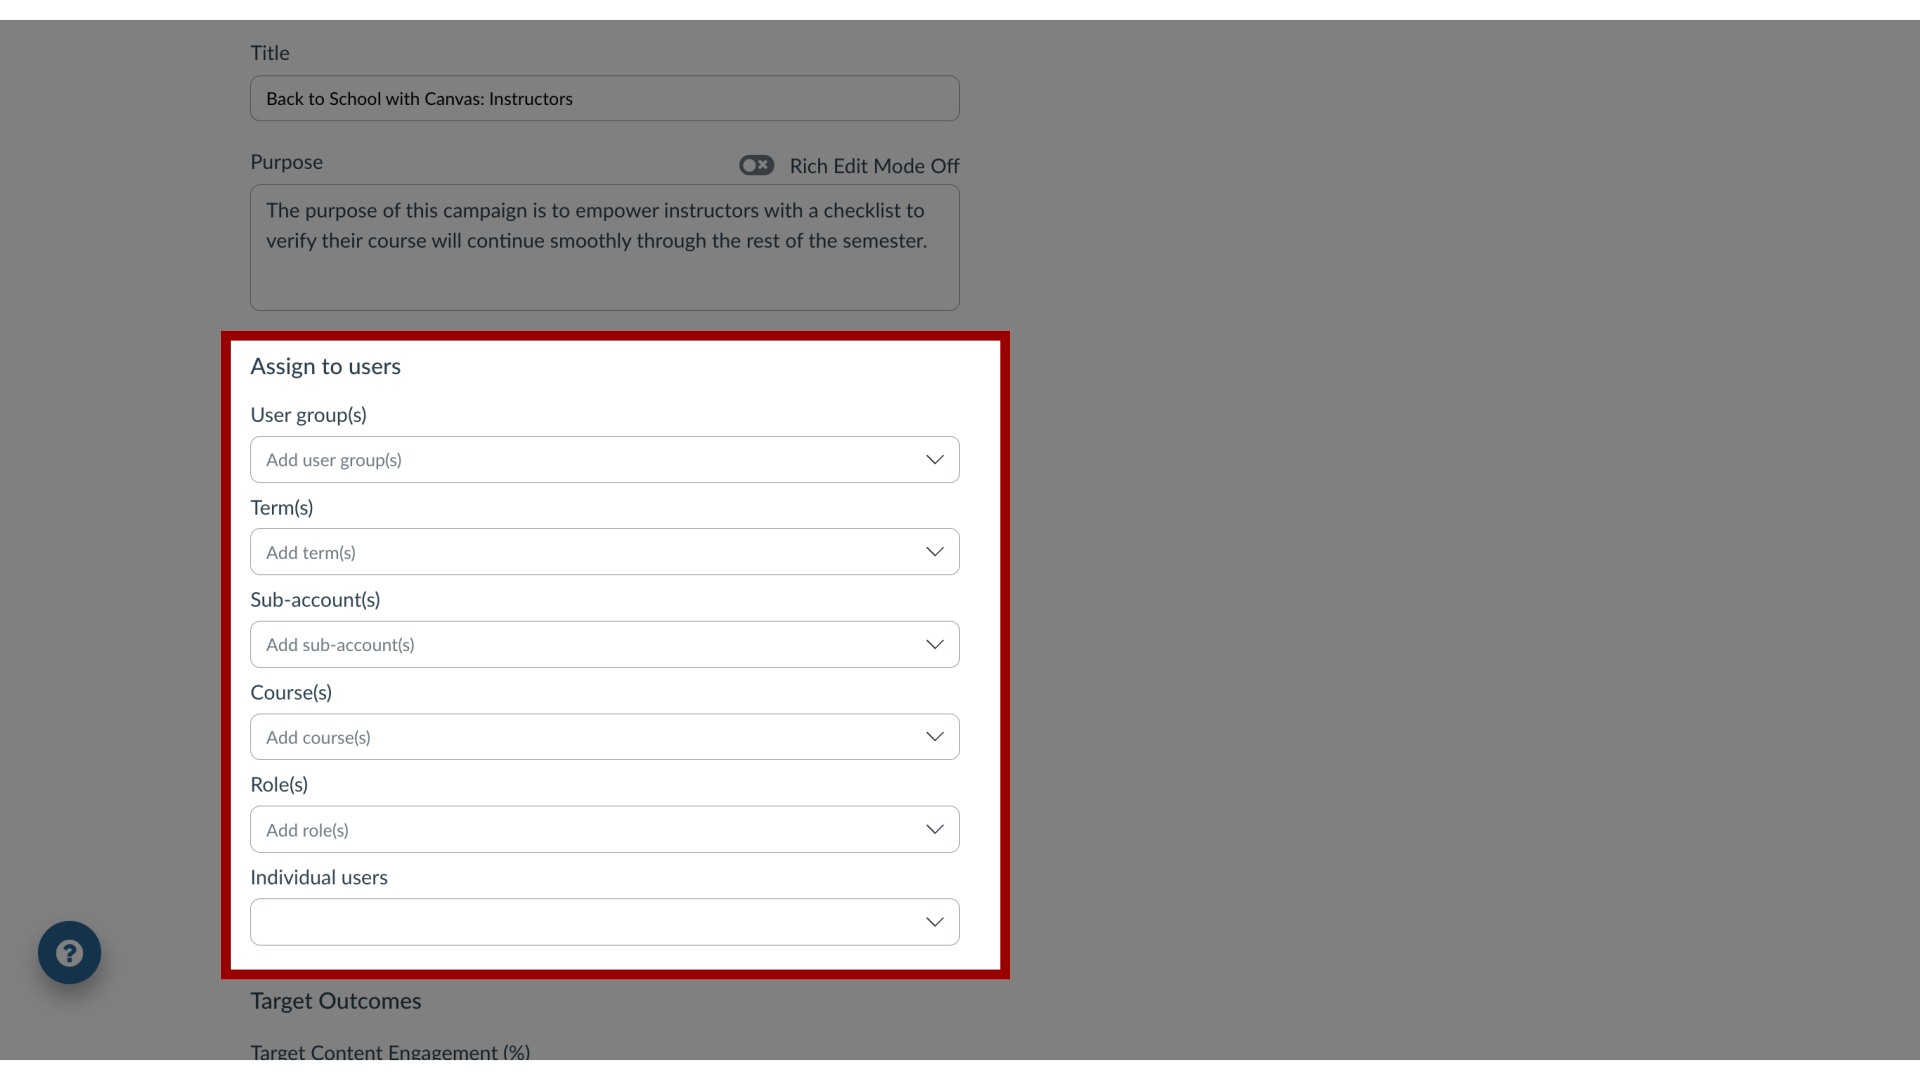
9. Edit Target Audience
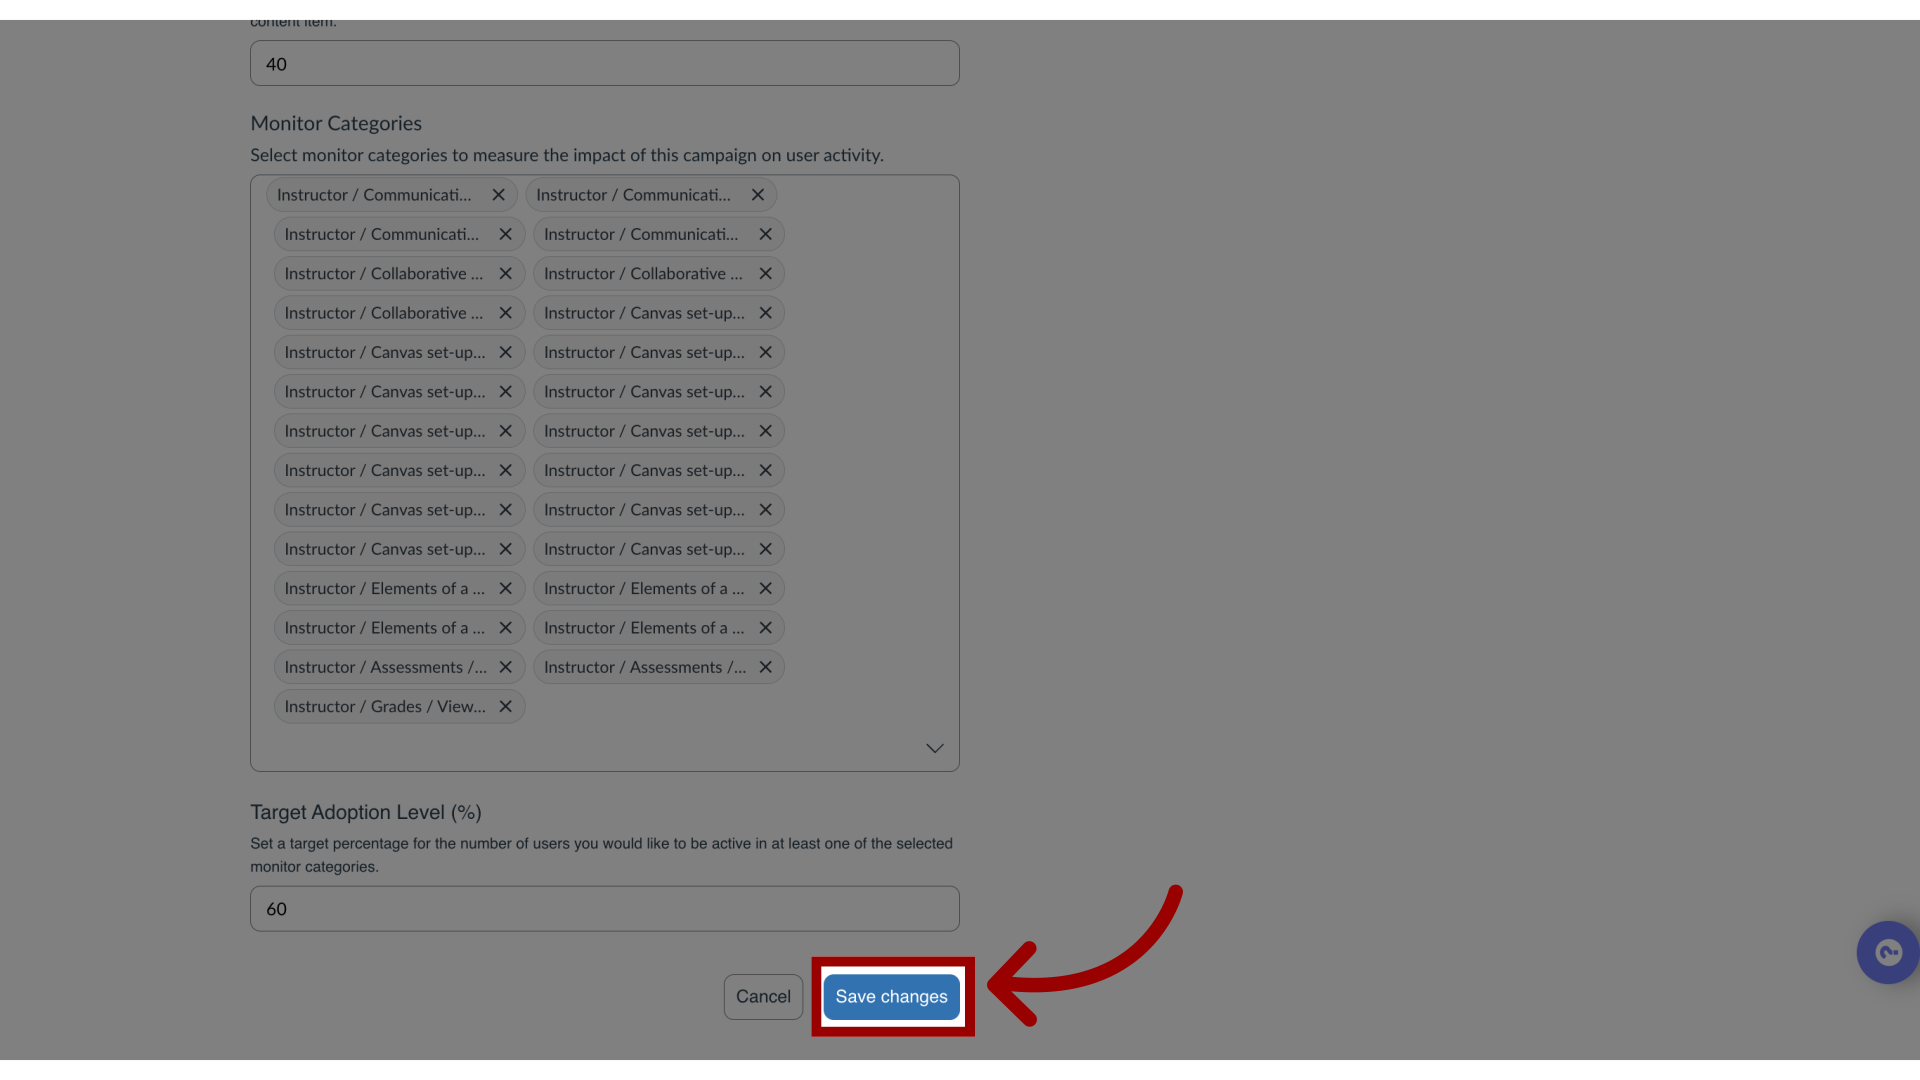
10. Save Changes
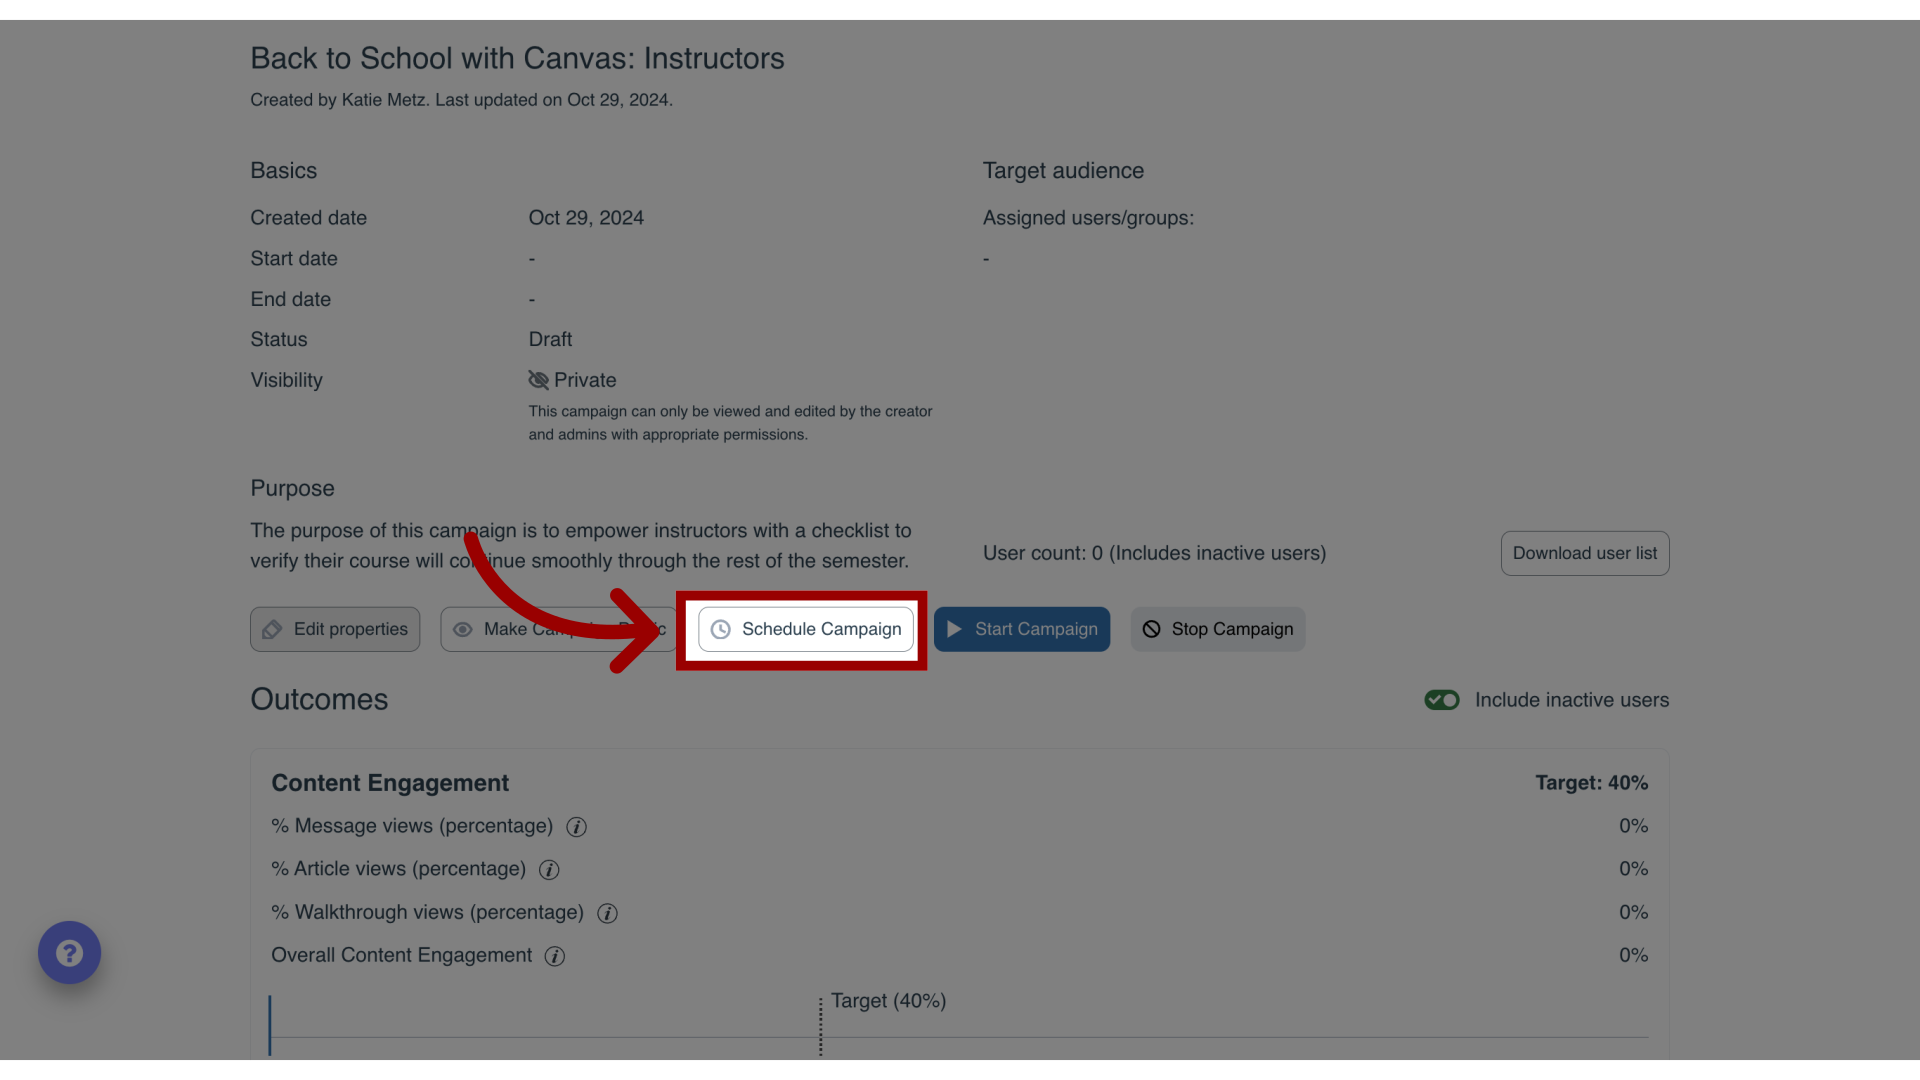
11. Schedule Campaign
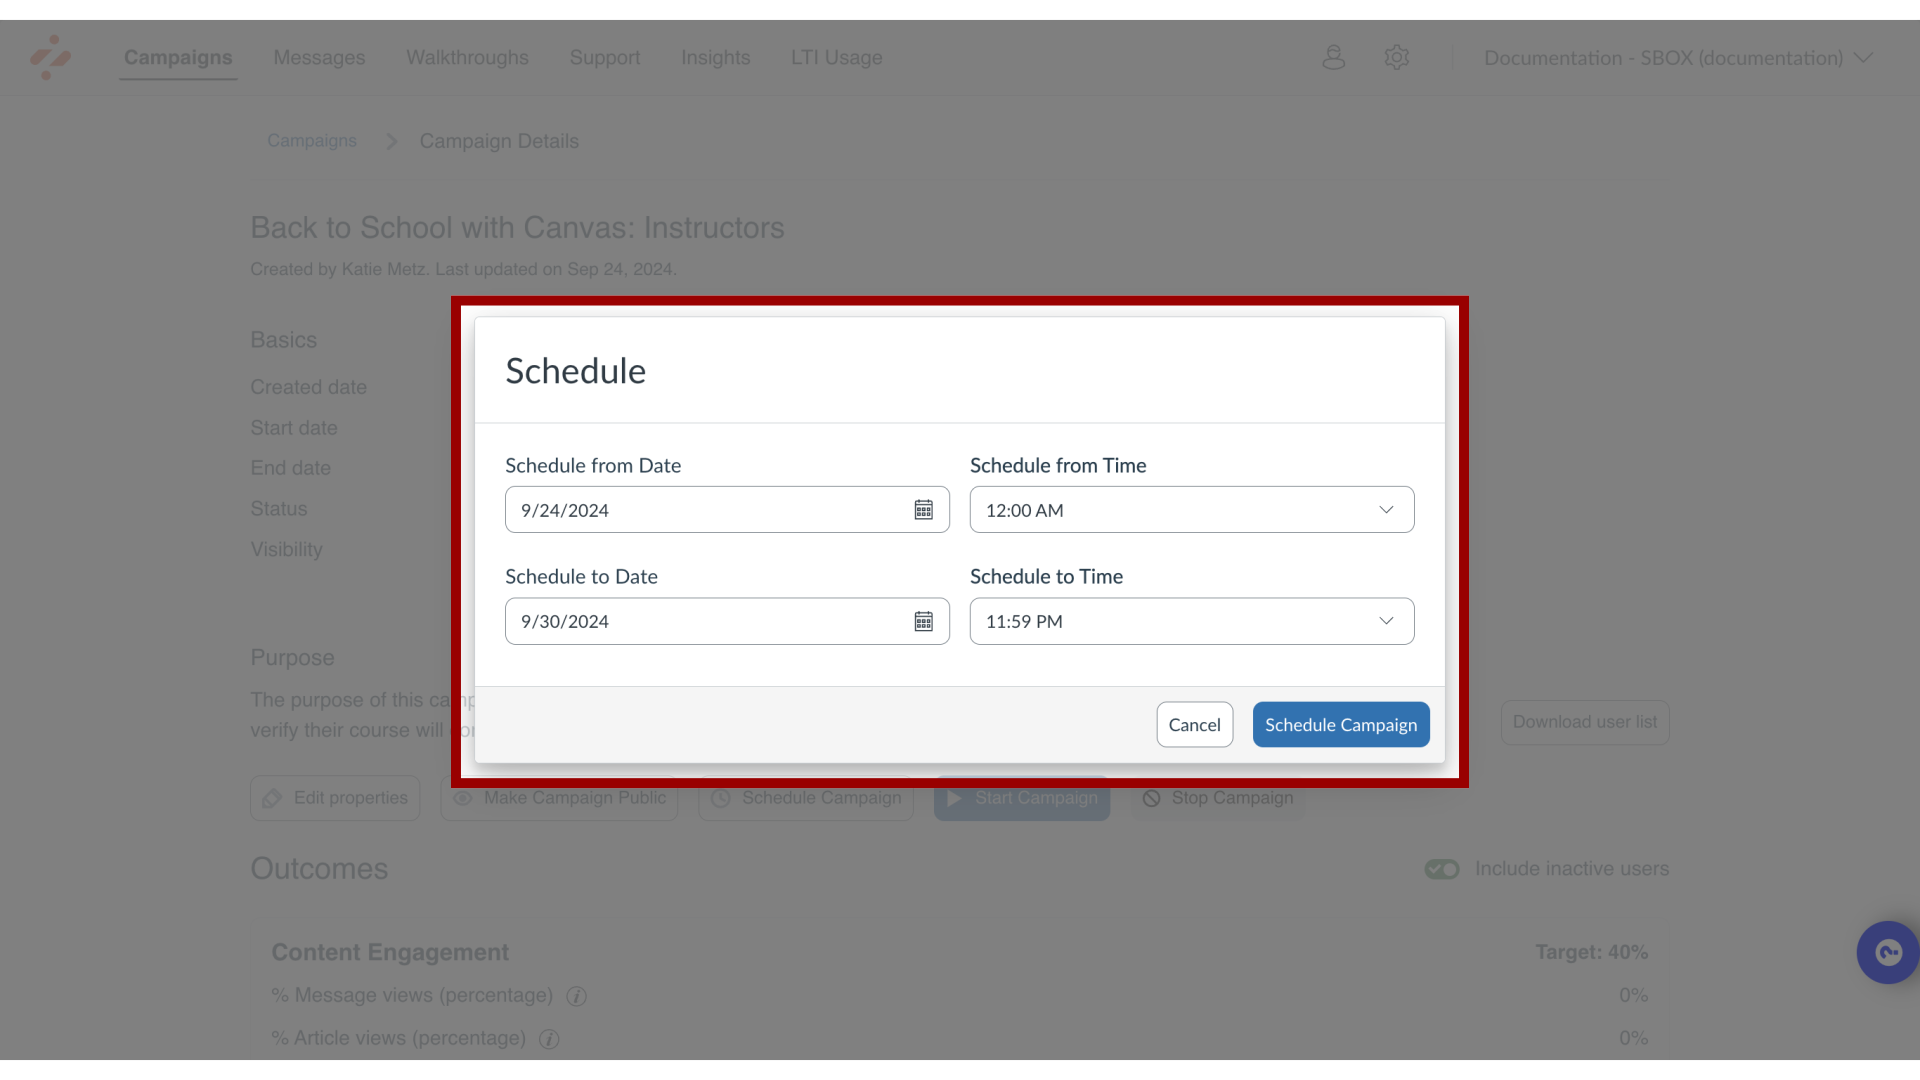
12. Add Scheduled Dates
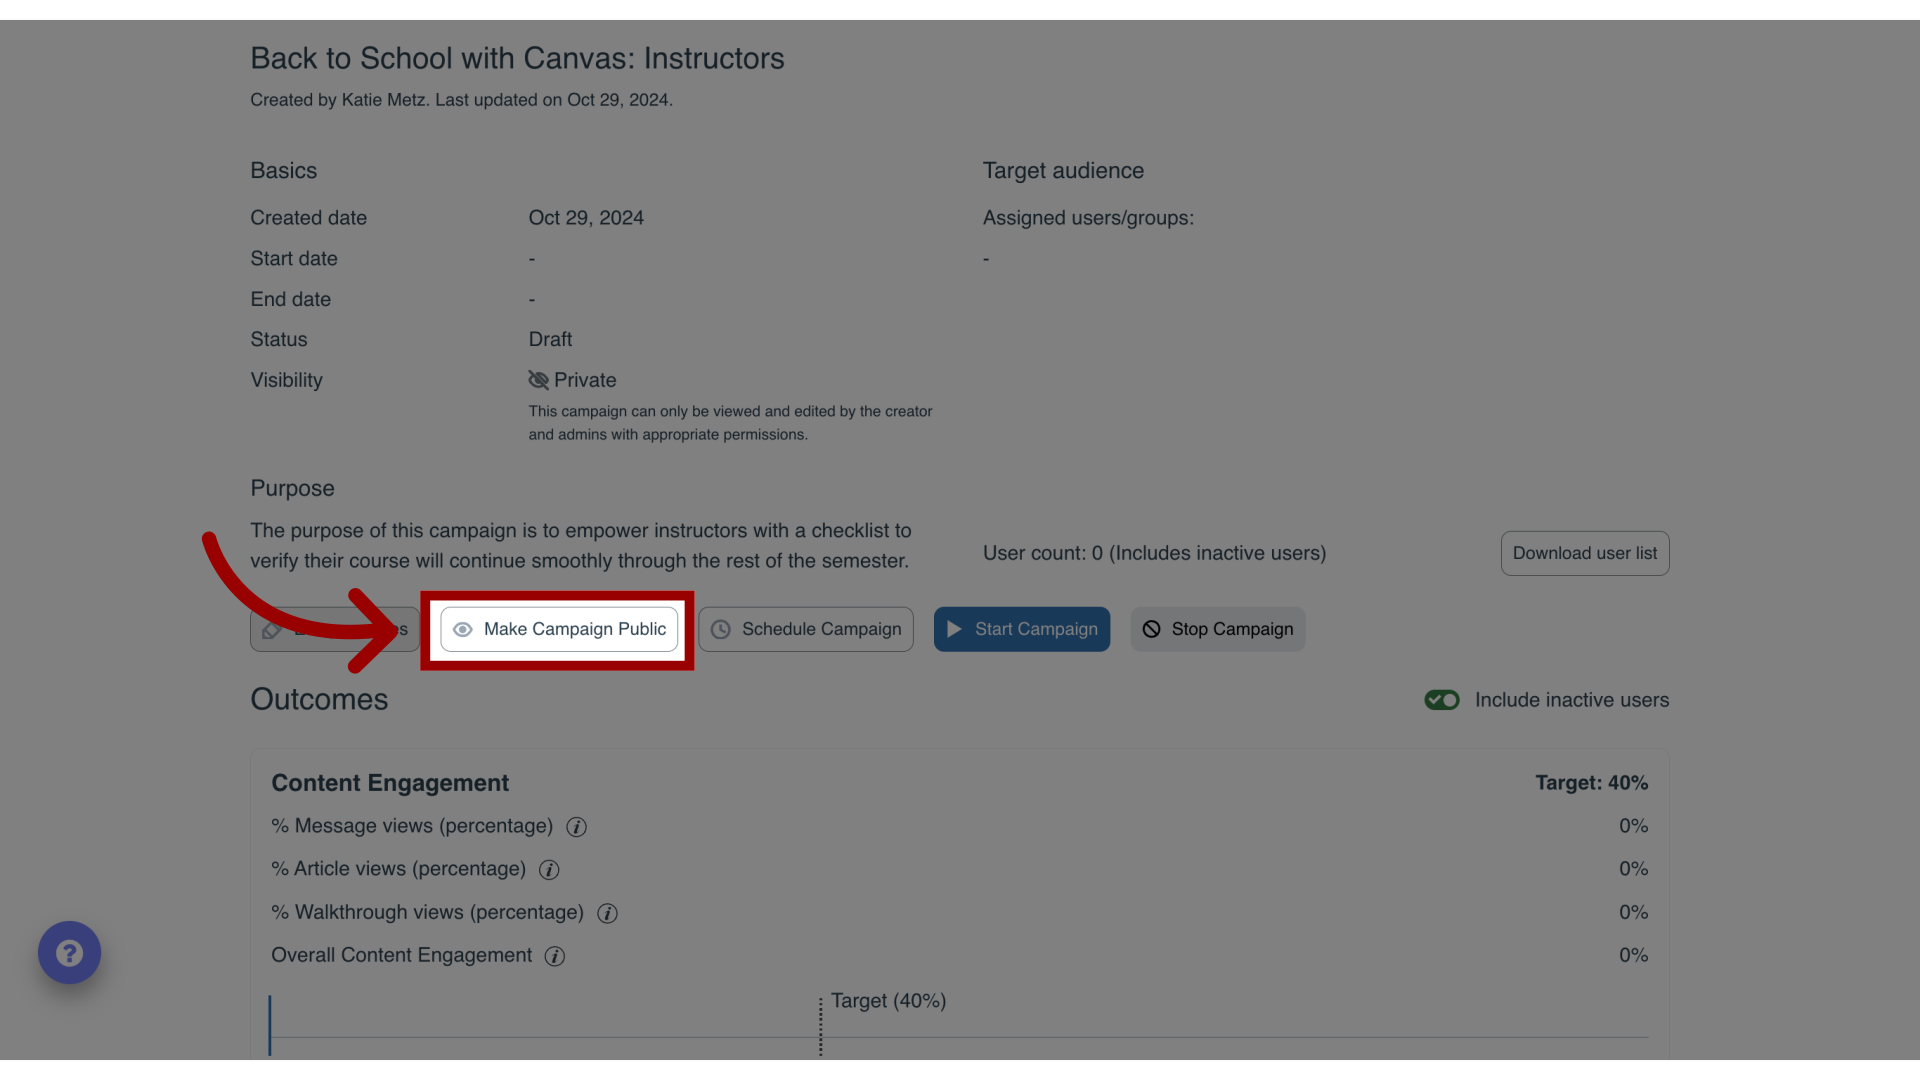
13. Share Campaign
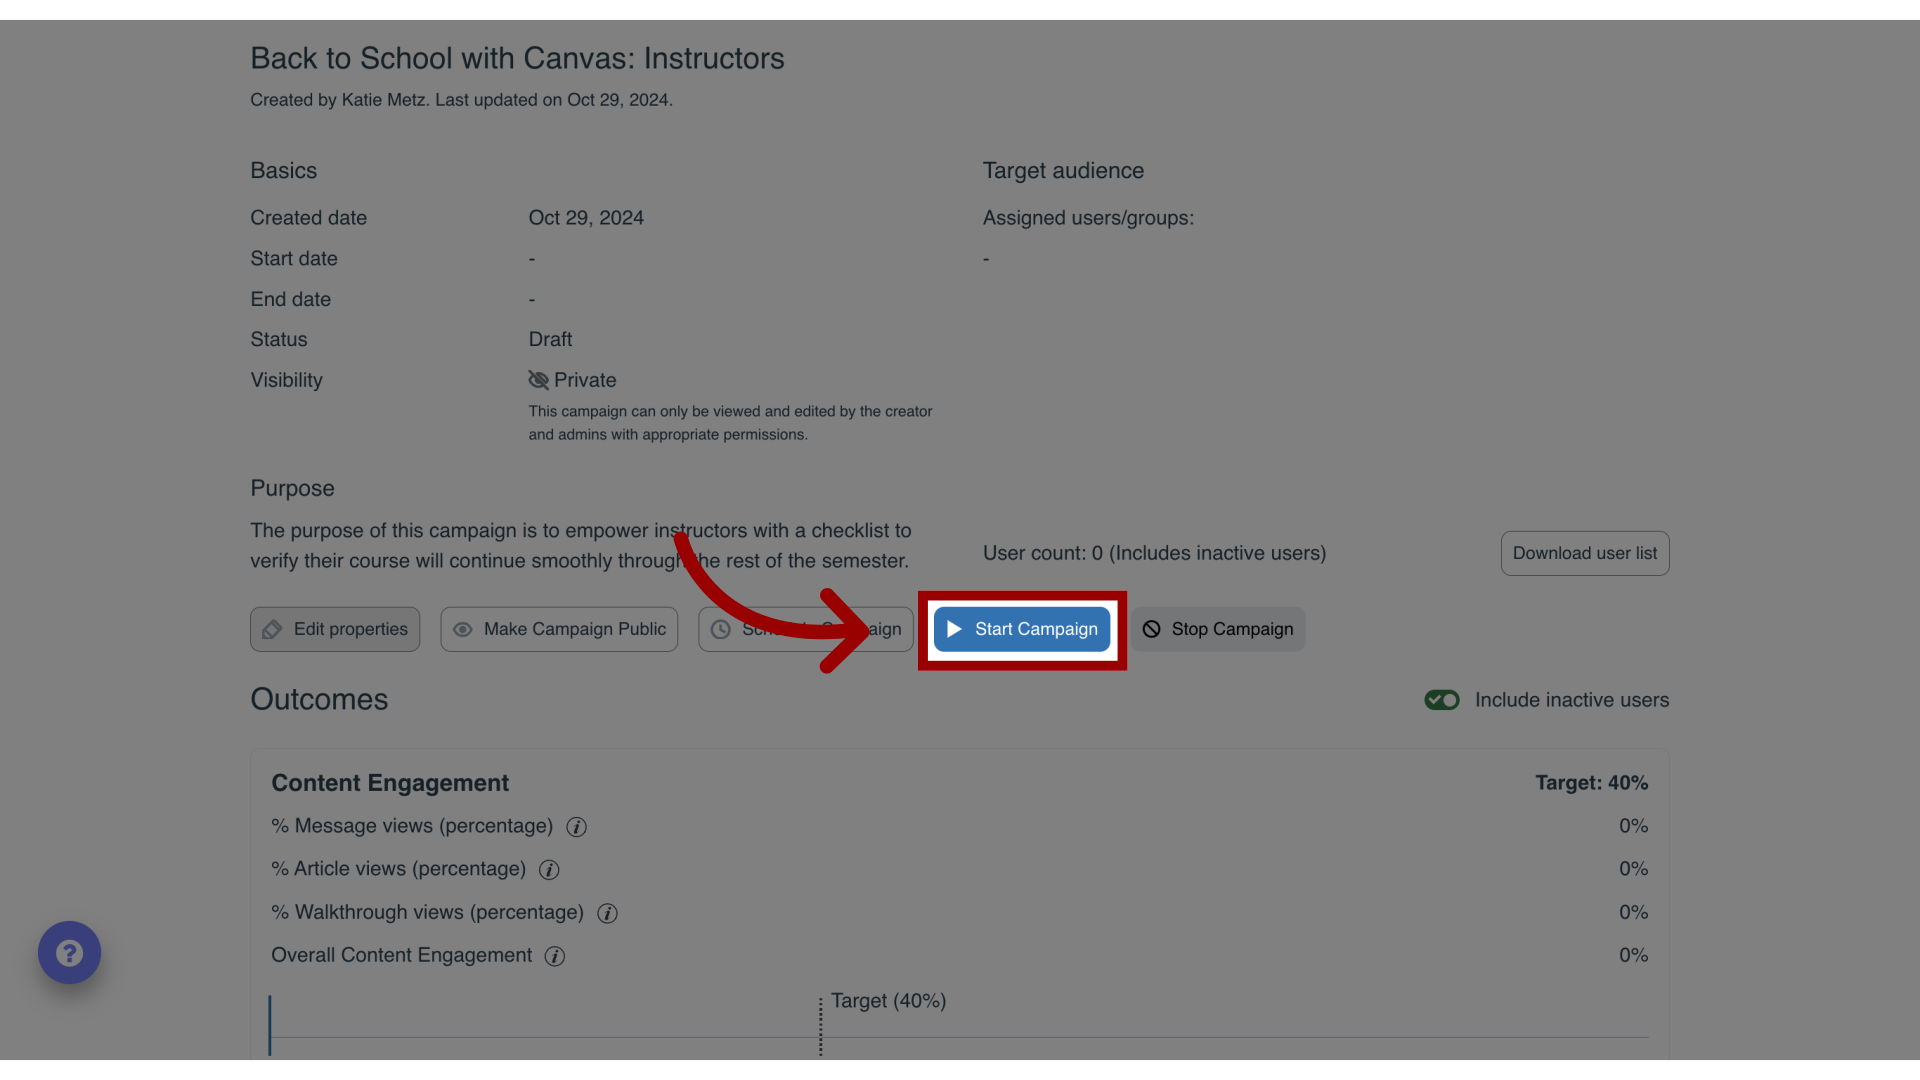
14. Start Campaign
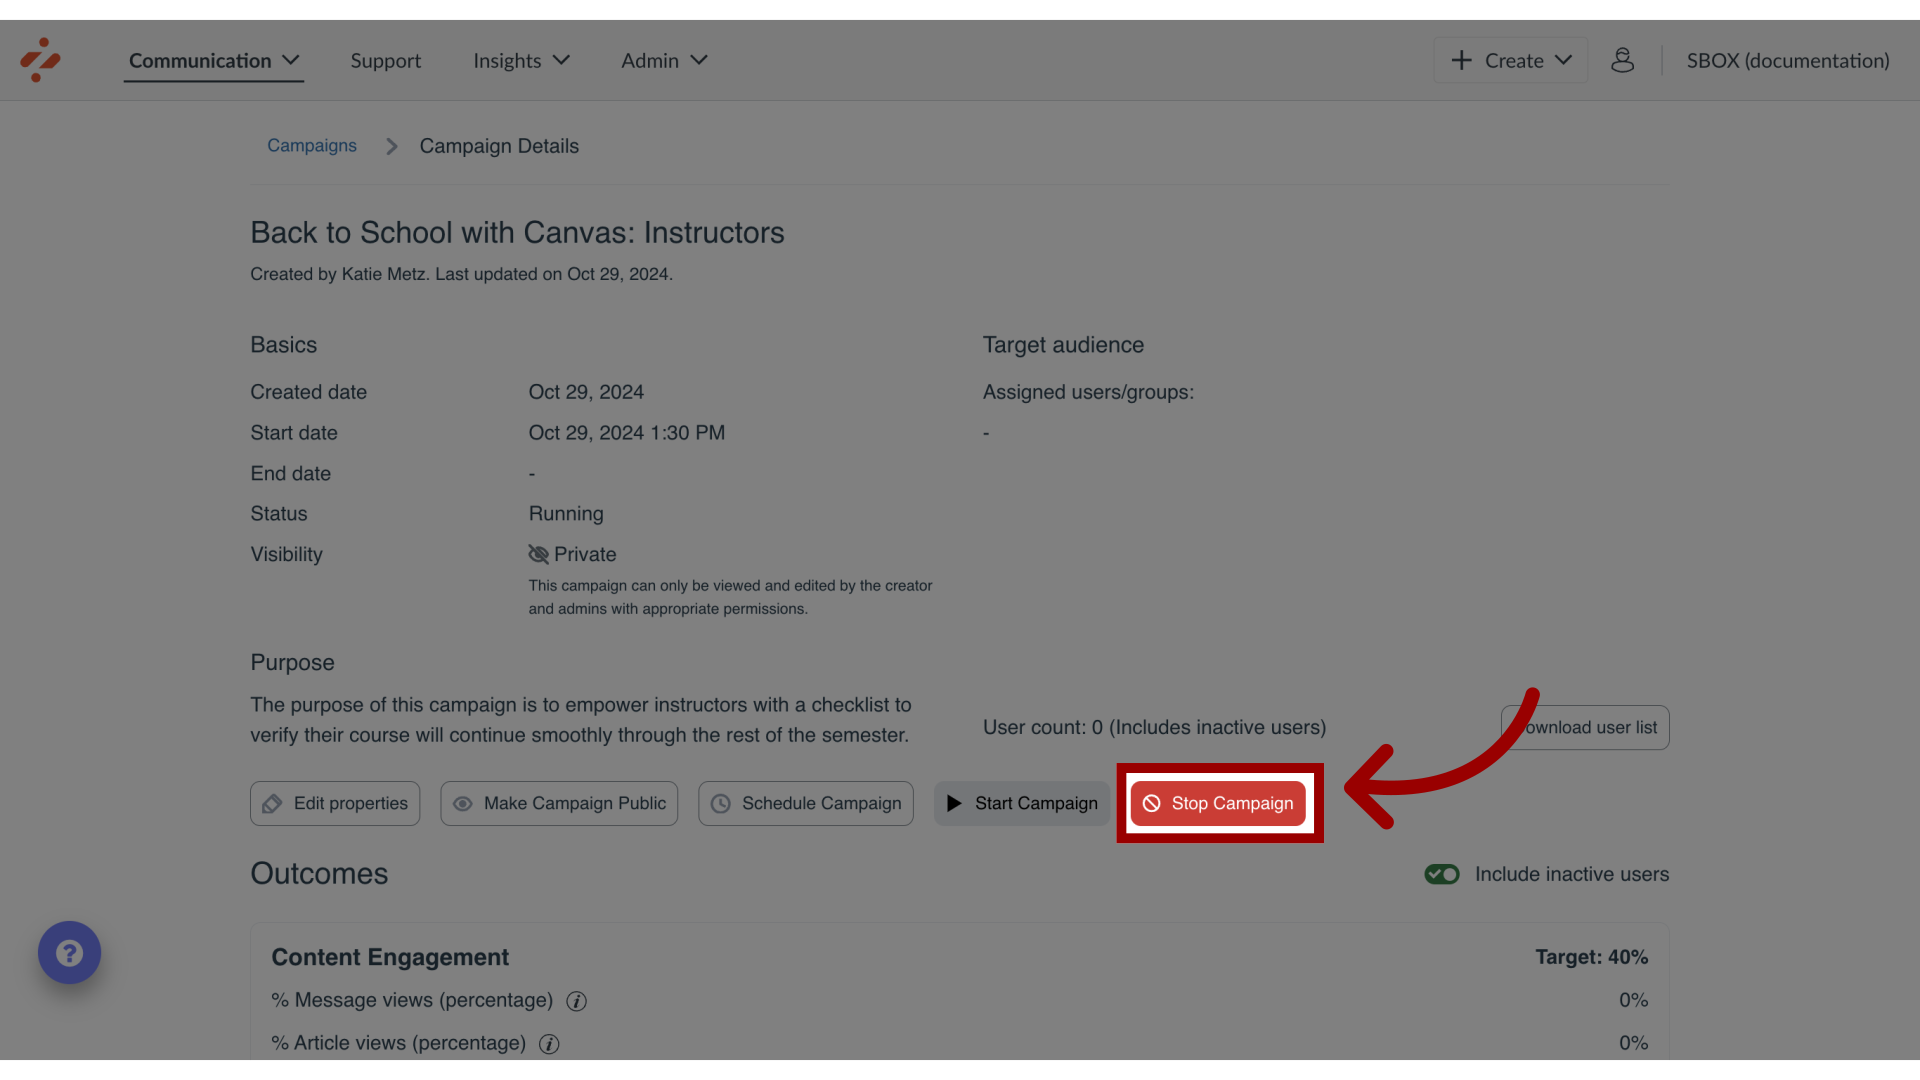
15. Stop Campaign
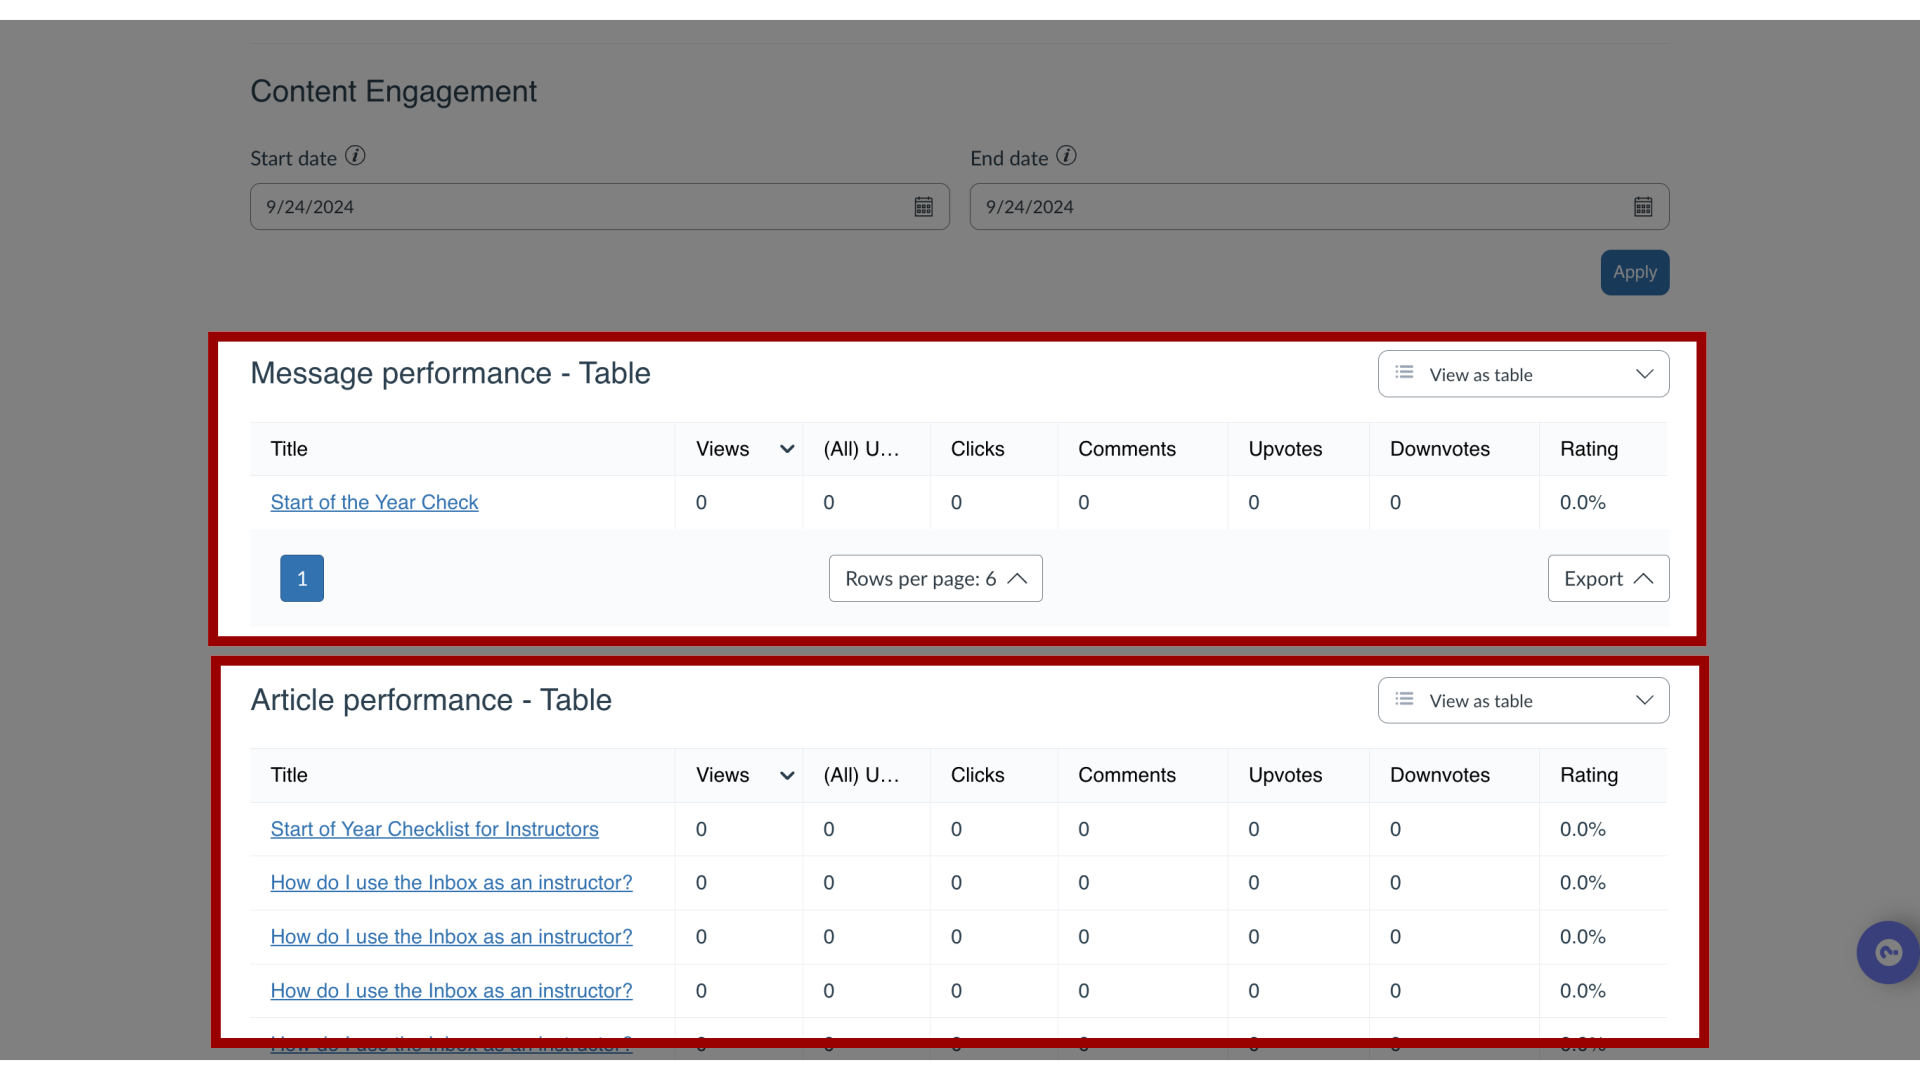
16. Track User Engagement

17. View User Performance
For more information on the following referenced topics:
- Links between messages and support articles: Visit How do I add a support article to a message in the Impact Dashboard?
- User groups: Visit How do I organize User Roles from the application in the Impact Dashboard?
- Adding Tool Adoption Statistics: Visit How do I add tool adoption statistics to a campaign in the Impact Dashboard?
- Campaign templates: Visit What are Impact campaign templates?
